1. Introduction
With the serverless approach, the problem about the server that the software developer confronts with has disappeared. Now we write our code and call the provider to run it. We are not dealing with server configurations, scalings etc. And pay as you go. This is a great opportunity.
AWS's Lambda, GCP's Cloud Function, Azure's Azure Function etc., these services provide us this service. But this time, different kind of problem appears. These services do not support all languages. Even if it supports the language we want, it may not support the version we want. For example, AWS Lambda does not support the upper versions of .NET Core 2.1 yet. This is a problem. Nobody can restrict us :)
The Cloud Run service that Google built on Knative completely solves this problem. We give Cloud Run a docker image and Cloud Run runs our serverless service from this image. So whether we develop in PHP or .NET Core, it doesn't matter. There is no limit as long as we can make dockerize. This is awesome.
2. Preparing the Development Environment
In this part we will arrange our development environment. You can apply exactly the second part of my previous article, Publishing the ASP.NET Core Application in GCP Kubernetes.
3. Preparing GCP
3.1. Creating the Project
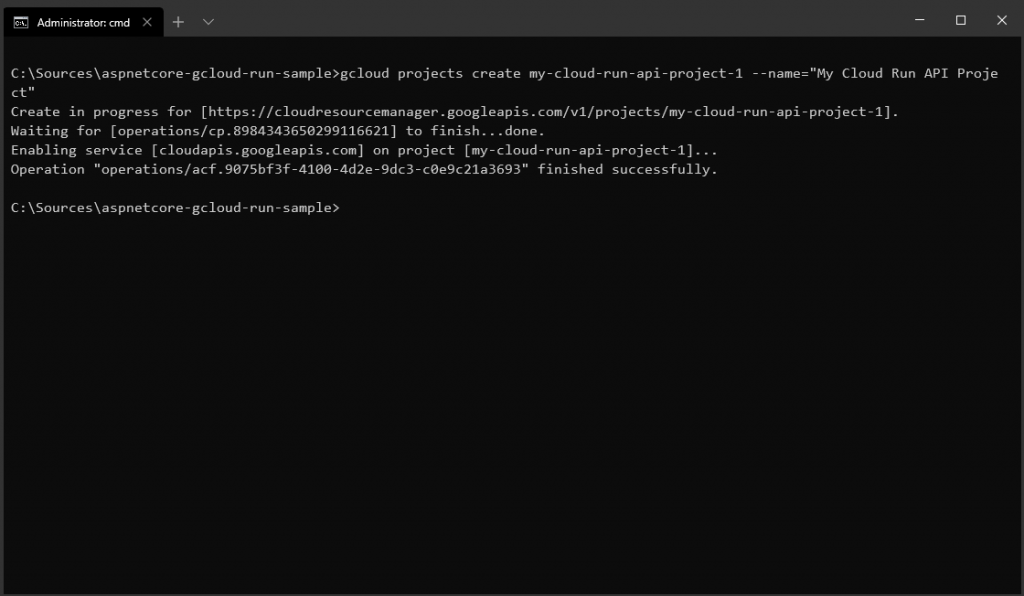
Before we can use Google Cloud services, we need to create a project. You need to run the following command from the terminal. You can update PROJECT_ID and PROJECT_NAME fields according to your.
    gcloud projects create [PROJECT_ID] --name=[PROJECT_NAME]
gcloud projects create my-cloud-run-api-project-1 --name="My Cloud Run API Project"
You can run the command below to see the project created.
gcloud projects list
3.2. Choosing the Project
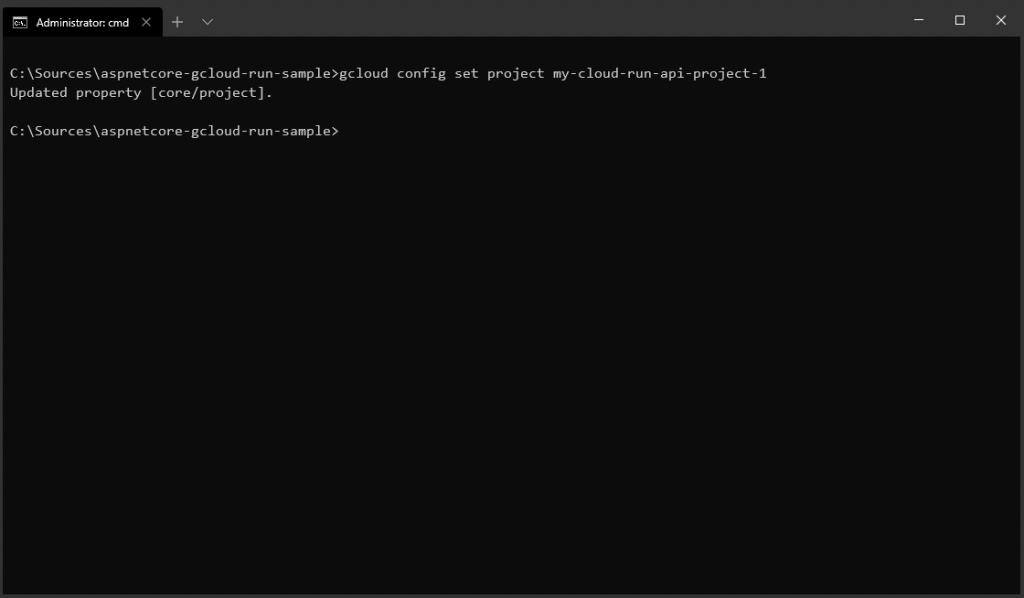
We need to define the project that we have created on google cloud config on our local machine. You need to run the following command from the terminal. Remember to update the PROJECT_ID field according to you.
    gcloud config set project [PROJECT_ID]
gcloud config set project my-cloud-run-api-project-1
3.3. Activating the Billing
Before we publish the application, we need to link an billing account to the project that we have created. To learn your Account Id, you need to run the following command from the terminal.
gcloud beta billing accounts list
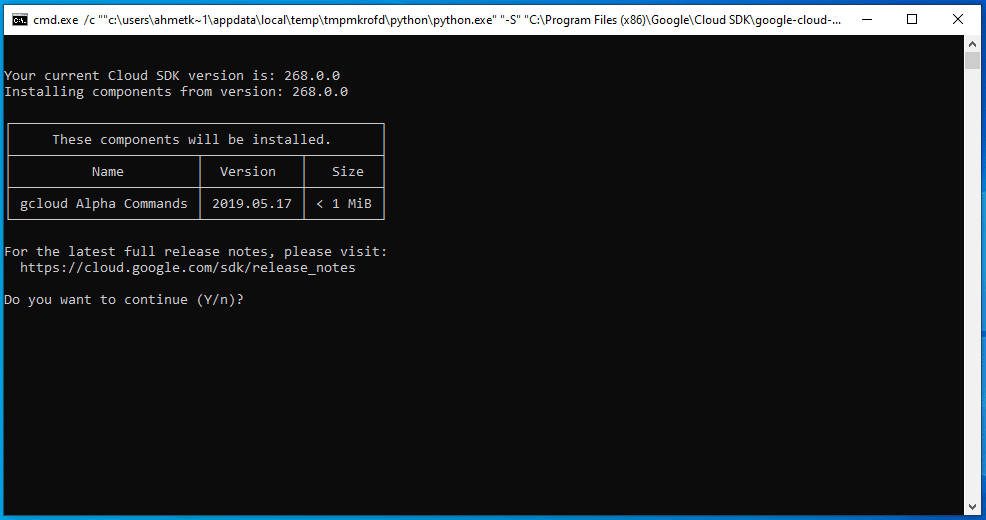
You need to run the following command to install the alpha commands of the Google SDK.
gcloud components install alpha
Once the process is complete, you need to run the following command to link the Account Id to your project. Remember to update the PROJECT_ID and ACCOUNT_ID fields according to you.
gcloud alpha billing projects link [PROJECT_ID] --billing-account [ACCOUNT_ID]
You can run the command below to see that the bill has been successfully linked to your project. Remember to update the ACCOUNT_ID field according to you.
gcloud beta billing projects list --billing-account=[ACCOUNT_ID]
3.4. Activating the Cloud Run API
It is required to activate Cloud Run API from Google Cloud APIs. You need to run the following command from the terminal.
gcloud services enable run.googleapis.com
3.5. Activating the Container Registry API
Container Registry API needs to be activated from Google Cloud APIs. You need to run the following command from the terminal.
gcloud services enable containerregistry.googleapis.com
4. Publishing the Application
I created a simple API. You can pull this API from Github with the command below.
git clone https://github.com/ahmetkucukoglu/aspnetcore-gcloud-run-sample.git
There is one thing we need to pay attention. It is that when Cloud Run running a service from the docker image, it set the port on its own. It writes this port to environment variable. It wants us to run the application that we have written in a way for this port to listen. If we don't, Cloud Run stops service if it doesn't receive a response when it does health check.
You can see how it is set in lines 11 and 12.
4.1. Creating the Image and Sending the Image to GCR
The project includes Dockerfile. We should create an image in the docker with the following command. You can set the IMAGE_ID field according to you.
    docker build -t [IMAGE_ID] -f CloudRunSampleAPI/Dockerfile .
docker build -t my-cloud-run-api-image:1.0 -f CloudRunSampleAPI/Dockerfile .
Let's first create a tag to send this image we have created to GCR. Remember to update the LOCAL_IMAGE_ID, PROJECT_ID and IMAGE_ID fields according to you.
    docker tag [LOCAL_IMAGE_ID] gcr.io/[PROJECT_ID]/[IMAGE_ID]
docker tag my-cloud-run-api-image:1.0 gcr.io/my-cloud-run-api-project-1/my-cloud-run-api-image:1.0
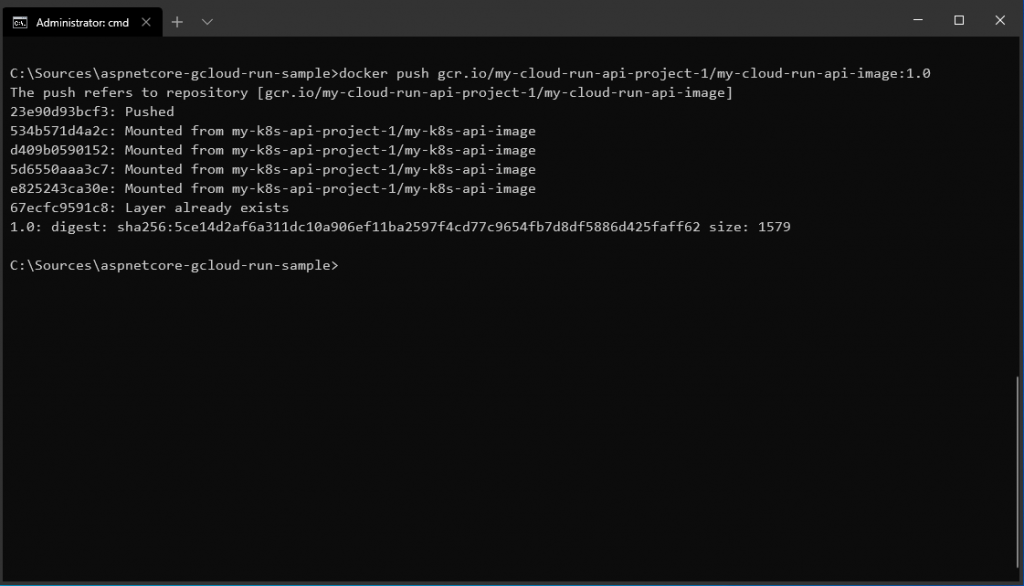
Now, let's send the image to GCR using this tag.
    docker push gcr.io/[PROJECT_ID]/[IMAGE_ID]
docker push gcr.io/my-cloud-run-api-project-1/my-cloud-run-api-image:1.0
To see the image sent to GCR, you can run the command below from the terminal.
gcloud container images list
4.2. Deploying the Application
We have to deploy our application using the image we created above. You need to run the following command from the terminal. Remember to update the SERVICE_NAME and IMAGE_ID fields according to your own information.
    gcloud beta run deploy [SERVICE_NAME] --image [IMAGE_ID] --platform managed --region europe-west1 --update-env-vars APIKey=Key123,APISecret=Secret456
gcloud beta run deploy my-cloud-run-api --image gcr.io/my-cloud-run-api-project-1/my-cloud-run-api-image:1.0 --platform managed --region europe-west1 --update-env-vars APIKey=Key123,APISecret=Secret456
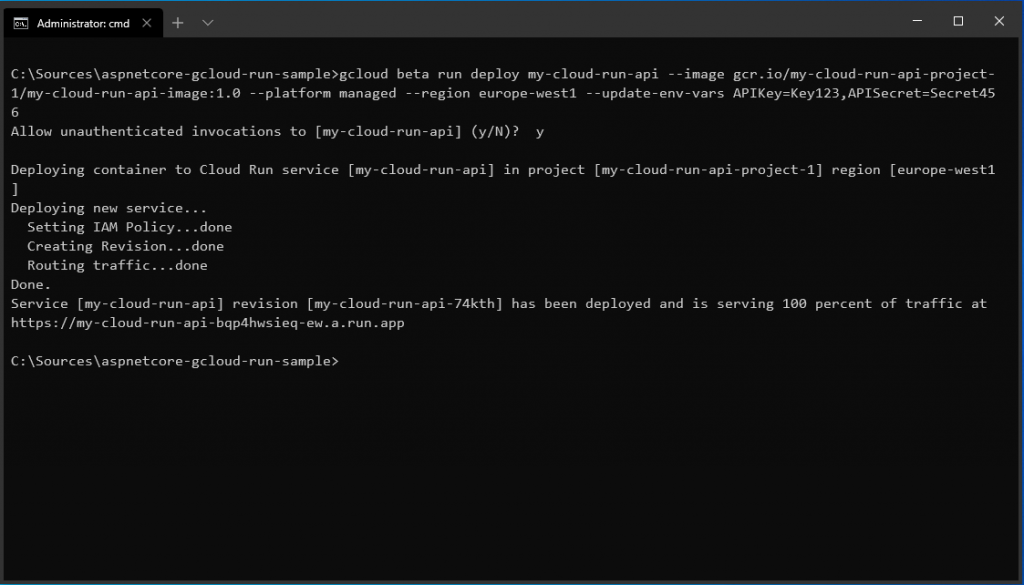
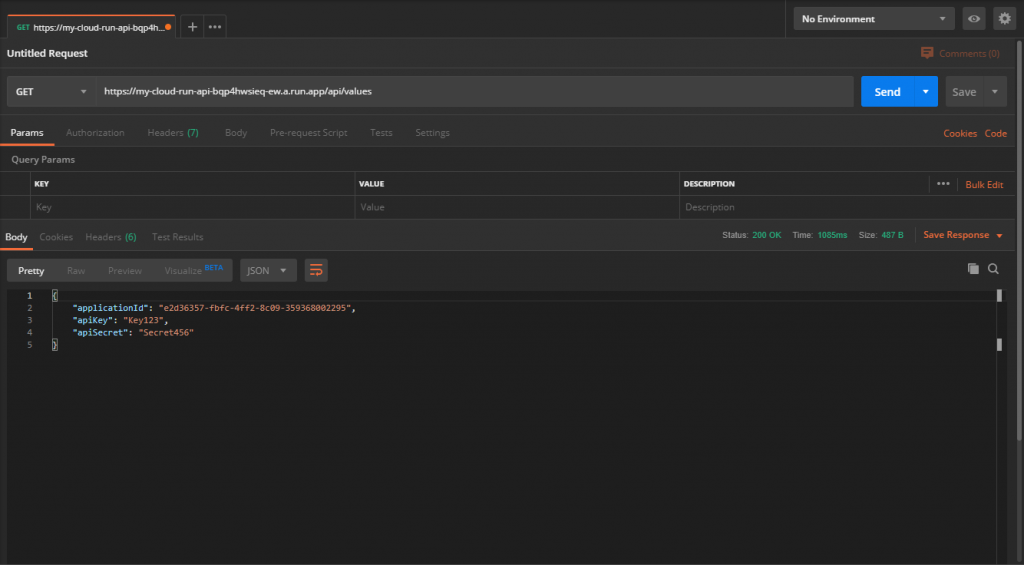
We saw the endpoint at the terminal. You can test it now.
You can access the final version of the project from Github.
Good luck.
Leave a comment
Reply to
Cancel reply